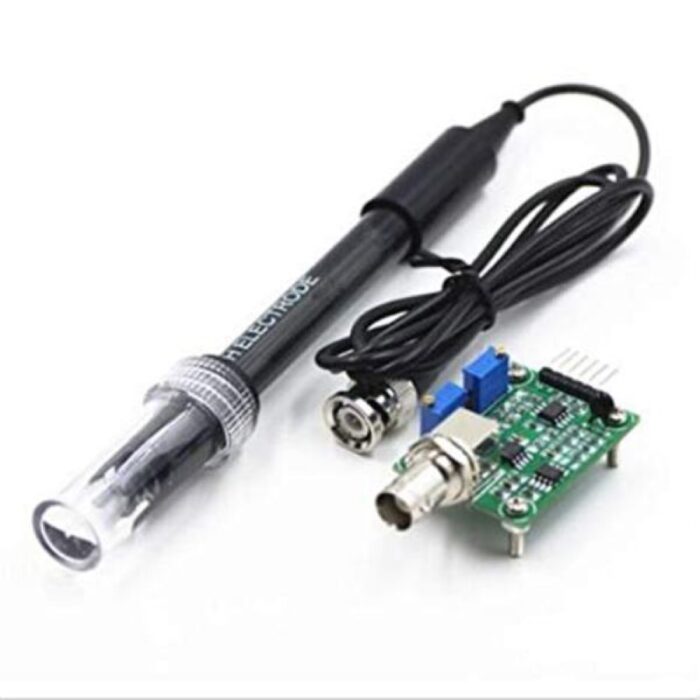
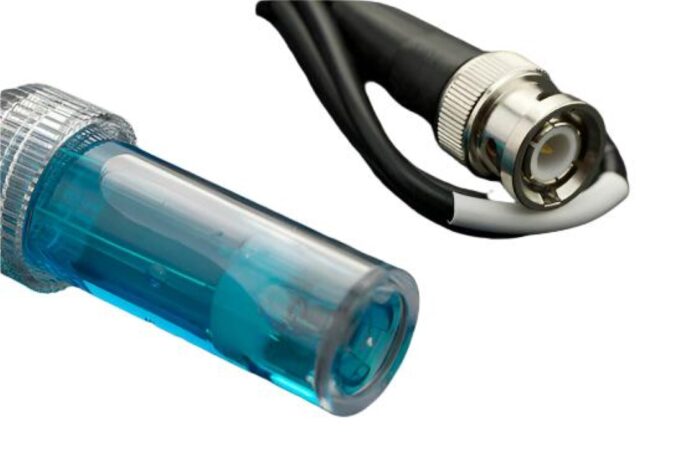
Analog pH Sensor Kit is specially designed for Arduino controllers and has a built-in simple, convenient, and practical connection and features. It has an LED that works as the Power Indicator, a BNC connector, and a PH2.0 sensor interface. To use it, just connect the pH sensor with the BND connector, and plug the PH2.0 interface into the analog input port of any Arduino controller. If pre-programmed, you will get the pH value easily. Comes in a compact plastic box with foams for better mobile storage Applications Water quality testing Aquaculture Note: This is a laboratory probe, it cant be immersed in the liquid for a too long time. Step to Use the pH Meter: Cautions: Please use an external switching power supply, and the voltage as close as possible to the 5.00V. More accurate the voltage, the higher the accuracy! Before the electrode in continuous use every time, you need to calibrate it by the standard solution, in order to obtain more accurate results. The best environment temperature is about 25 , and the pH value is known and reliable, close to the measured value. If you measure the acidic sample, the pH value of the standard solution should be 4.00. If you measure the alkaline sample, the pH value of the standard solution should be 9.18.Subsection calibration, just in order to get better accuracy. Before the pH electrode measured different solutions, we need to use water to wash it. We recommend using deionized water. Connect equipment according to the graphic, that is, the pH electrode is connected to the BNC connector on the pH meter boardand then use the connection lines, the pH meter board is connected to the analog port 0 of the Arduino controller. When the Arduino controller gets power, you will see the blue LED on board is on. Upload the sample code to the Arduino controller. Put the pH electrode into the standard solution whose pH value is 7.00or directly shorted the input of the BNC connector. Open the serial monitor of the Arduino IDE, you can see the pH value printed on it, and the error does not exceed 0.3. Record the pH value printed, then compared with 7.00, and the difference should be changed into the Offset in the sample code. For example, the pH value printed is 6.88, so the difference is 0.12. You should change the # define Offset 0.00 into # define Offset 0.12 in your program. Put the pH electrode into the pH standard solution whose value is 4.00. Then wait about one minute, adjust the gain potential device, let the value stabilize at around 4.00. At this time, the acidic calibration has been completed and you can measure the pH value of an acidic solution. Note: If you want to measure the pH value of other solutions, you must wash the pH electrode first! According to the linear characteristics of the pH electrode itself, after the above calibration, you can directly measure the pH value of the alkaline solution, but if you want to get better accuracy, you can recalibrate it. The alkaline calibration uses the standard solution whose pH value is 9.18. Also, adjust the gain potential device, let the value stabilize at around 9.18. After this calibration, you can measure the pH value of the alkaline solution. Specifications:- Input Supply voltage (VDC) 5 Module Size (mm) 50 x 47 x 16 Measuring Range 0 14 PH Measuring Temperature 0 50 Accuracy 0.01 pH Response Time 1min Cable Length (cm) 75 pH sensor size (mm) 150, 12
Refunds
Once a purchased software package has been activated or an activation has been attempted through an online activation site, the package becomes none refundable But in serious matters, we can refund on gelatissimotp wallet. So you can use every product. We cannot add the software package to our stock if an activation has been completed or attempted.
We cannot issue a refund if a customer has purchased the wrong product. Rather then we can change it if he not try to active it
Example: A customer purchases a Windows software package for a Mac machine.
Exchanges
Microsoft Softwares will exchange software purchases for up to 30 days after order completion but only if the software has not been downloaded by the customer, you can also return your purchased software within 30 days if the software remains none downloaded for a full refund.
Redemption or Activation:
After purchasing keys, you will get a voucher code which is needed to redeem. this voucher code have a lifetime validity but once redeem it then you need to activate your windows or office within 7 working days.
Refund process
Refunds will be credited back to the credit/debit card that customers used to place their order, refunds are processed from our platform immediately the time taken to credit to the customer depends entirely on the customers card issuer and/or bank account.
How to initiate a Refund/Exchange
For any refund or exchange please open a create a refund or exchange request ticket here.


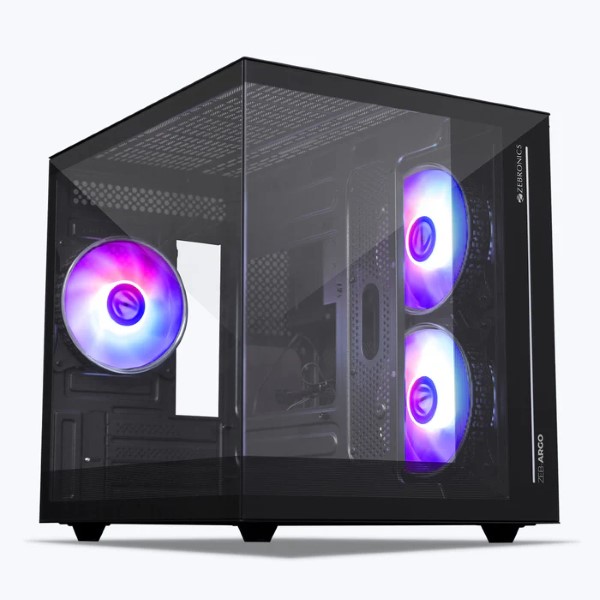 Zebronics Cabinets
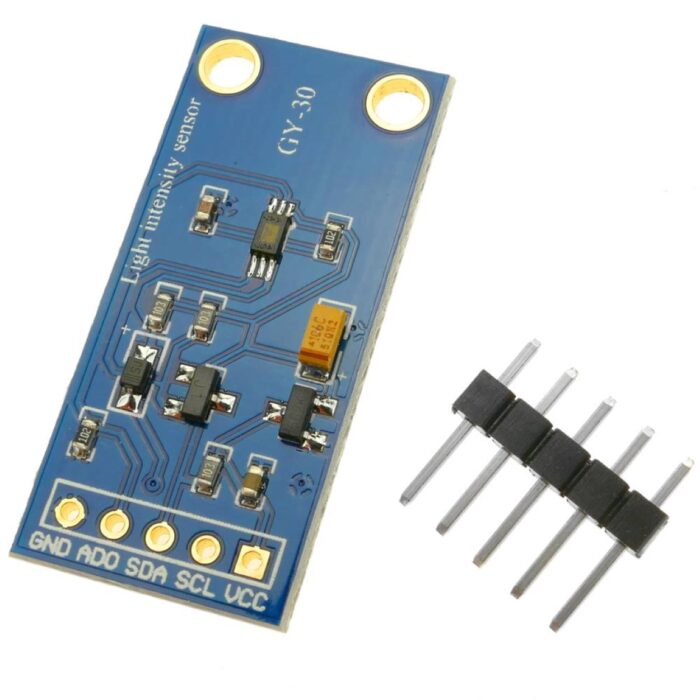 Sensors
 3D Printer
 Folders & Document Holders